Greetings! It is winter and when it is cold outside I tend to go on a craft kick! This week’s project: soap making with spent grain. I have tried cooking with spent grain and thus far it has not been successful. Time to find another use!
One of the reasons why barley is chosen for brewing it its husk. The husk is cracked at the beginning of the brewing process. The cracked husk then serves as a filter bed for the wort. Pretty cool right?
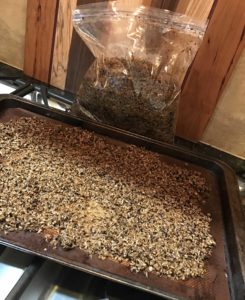
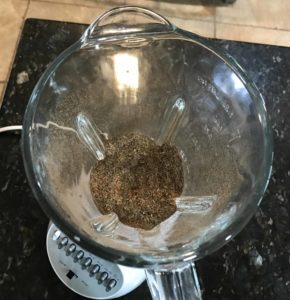
The husk has a texture that is scratchy and people have been using it in hand crafted soap making for a while as an exfoliant. I brought home a gallon freezer bag from the brewery. I spread out 1/2 cup on a baking sheet with a baking mat. I put it in the oven on convection at 250F (any hotter and the grain will start to toast and burn). I stirred every 15 minutes and it was dry in an hour. Next I put the grain into the blender until it was a texture less coarse but not a fine flour.
I found many recipes and articles through Pinterest on soap making. But of course I had to add my own flare. I feel that Batch 2 turned out better than Batch 1.
Batch 1 Ingredients
1/2 lb Goat’s Milk Melt & Pour Soap
1 tbsp Aloe Vera Gel
1 tbsp Dried Spent Grain (Milk Mustachio Stout)
4 Drops Essential Oil
Soap Molds (Quantity Depends on Size)
Batch 2 Ingredients
1/2 lb Goat’s Milk Melt & Pour Soap
1 tbsp Dried Spent Grain (Milk Mustachio Stout)
1 tbsp Ground Coffee
1 tsp Vanilla
Soap Molds (Quantity Depends on Size)
Some people add coloring. I found that the ingredients added plenty of color for my liking but it is up to you.
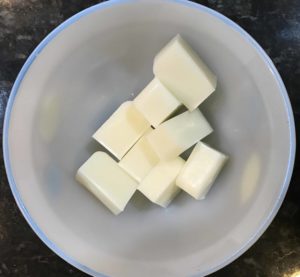
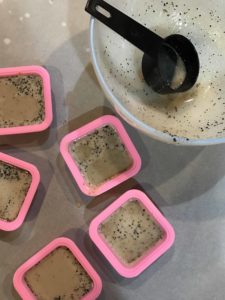
- For each Batch I cubed the soap base and put it into a microwave safe glass bowl. Two minutes and it was a nice liquid. Lightly stir. Too much stirring can equal bubbles.
- For Batch 1, I sprinkled each mold with some grain. I was concerned that adding it into the soap might cause clumping problems. For Batch 2, I mixed the grain into the soap base. I recommend this method and would do it again for future batches.

- Add in all the other ingredients. Again stir lightly.
- Use a 1/2 cup measuring cup (or other tool of your choice) to transfer the soap mixture into the mold. Pour slowly to avoid bubbles. Don’t worry if you make a mess. It cleans up easy!
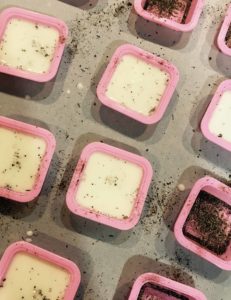
- Let the soap sit for 30 minutes to an hour.
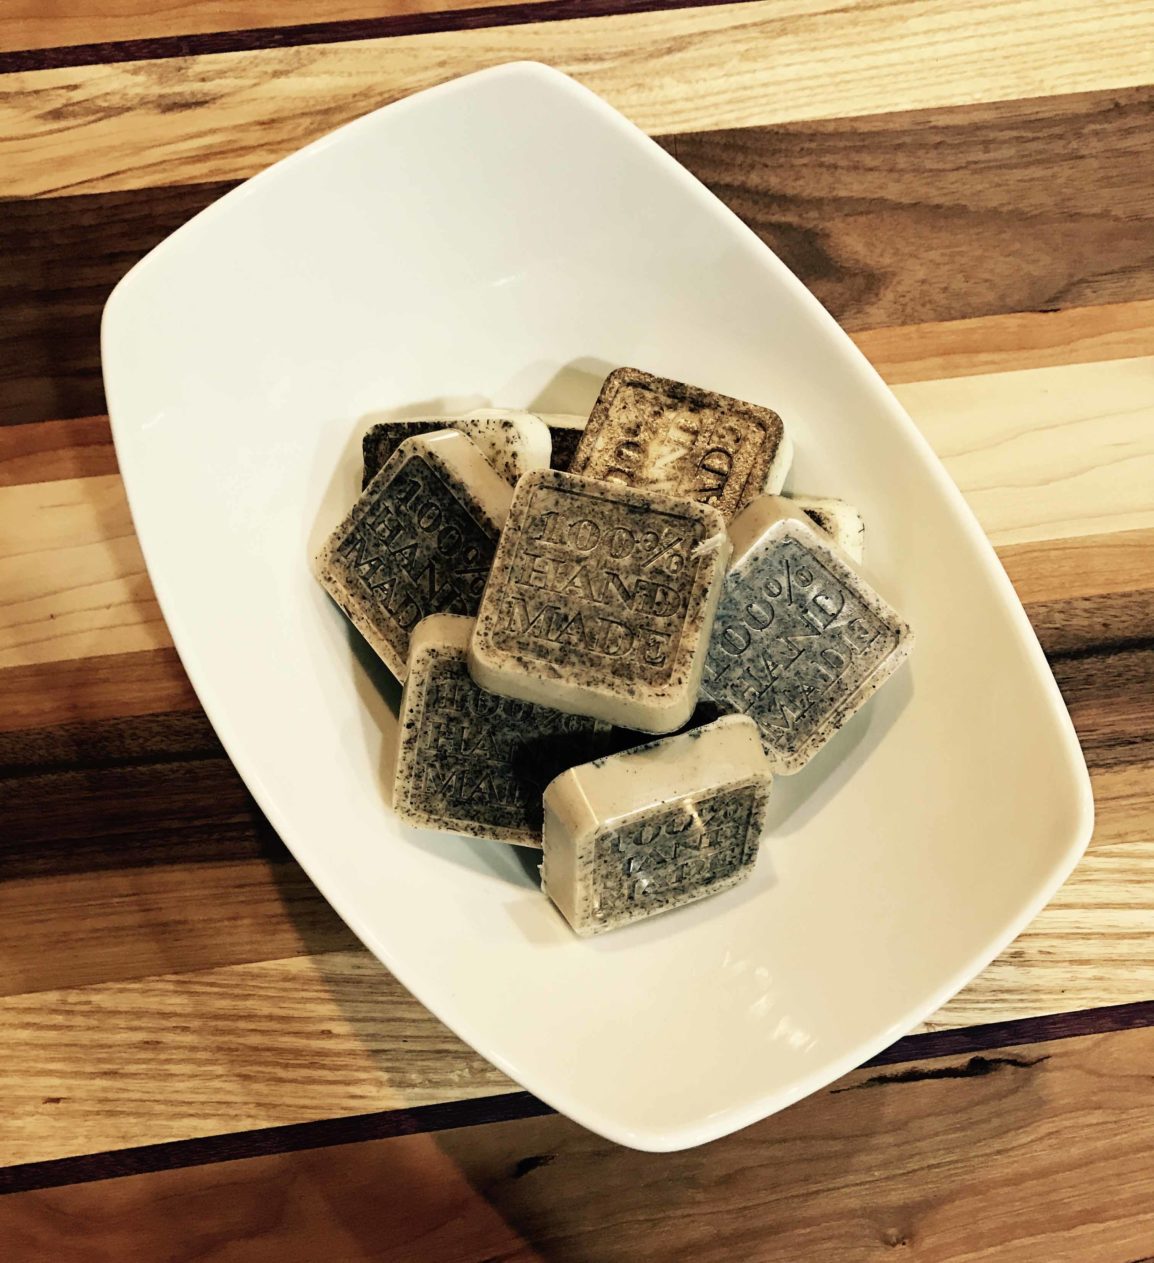
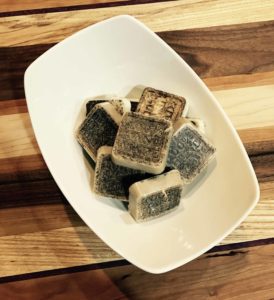
- Pop the soap out of the molds and enjoy!
Happy Crafting!
Skye